


How to Clean an HP Printhead
source: Time:2026-03-17 views:121
How to Clean an HP Printhead
Printers have a special talent for developing problems at the exact moment you need them most. Horizontal lines. White streaks. Colors that look like they gave up halfway through the page. It's almost impressive.
Before you throw the whole machine out the window, try cleaning the printhead. It fixes most issues. And if it doesn't, at least you'll know you tried.
Why Printheads Get Clogged
Those tiny nozzles that spray ink onto paper? They're small. Really small. And when ink sits around too long, it dries and plugs them up. If you're seeing:Missing lines or streaks
Colors that look wrong or missing entirely
Blurry, fuzzy printouts
...your printhead is probably clogged.
Method 1: Let the Printer Do the Work (Try This First)
Before you start taking things apart, run the printer's built-in cleaning cycle. It solves 90% of problems, and it takes about two minutes.
What to do:
Make sure the printer is on and loaded with plain paper.
On the printer's control panel, find the Setup or Tools menu.
Look for Clean Printhead (might be under maintenance or ink settings).
Run it. The printer will do its thing and print a test page when it's done.
If the test page still looks rough, run a second cleaning. Sometimes it takes two passes.
On a computer? Open the HP Smart app or HP Solution Center, check the ink levels menu, and you'll find maintenance tools in there.
Method 2: Get Your Hands Dirty (For Stubborn Clogs)
If you've run the automatic cleaning two or three times and nothing improved, it's time for manual intervention. Only do this if your printer has a removable printhead. Not all do. Check your manual first.
What you'll need:
Warm distilled water (tap water has minerals that can make things worse)
Lint-free cloth or coffee filter (paper towels leave lint behind)
A shallow container
The process:
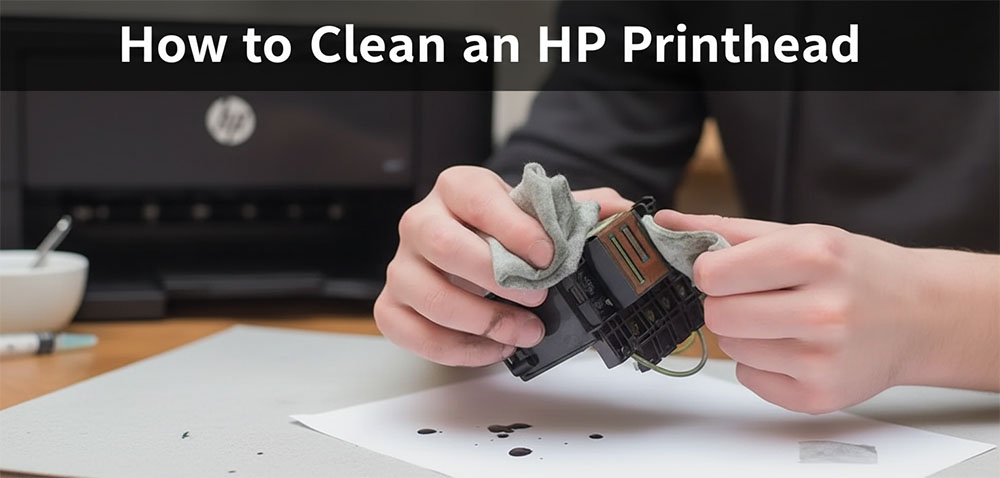
Remove the printhead. Open the top cover. Wait for the ink cartridges to stop moving. Remove them. Find the printhead lock lever, release it, and carefully lift the printhead out.
Wipe it down. Use a damp cloth to gently clean any dried ink around the nozzles.
Soak it. Fill your container with about 1 cm of warm distilled water. Place the printhead so only the nozzles are submerged—keep the circuit board dry.
Wait. Let it soak for 10 minutes. Then remove it, blot dry with a clean cloth, and let it air dry for another 15 minutes.
Put it back. Reinstall the printhead and ink cartridges. Run the automatic cleaning again to clear out any air bubbles.
How to Keep Your Printhead Healthy (So You Don't Have to Do This Again)
A little prevention goes a long way.Print regularly. At least once a week, color or black and white. Ink dries when it sits.
Use decent ink. Cheap, low-quality ink clogs faster. You don't have to buy OEM, but don't buy the absolute cheapest stuff either.
Turn the printer off properly. Use the power button. That lets the printhead return to its sealed position where it won't dry out.
When to Call It
If you've tried all this and your prints still look terrible, you have a choice.For printers with integrated cartridges (where the printhead is part of the cartridge), just buy a new cartridge.
For printers with a separate built-in printhead, replacement parts are expensive. Like, sometimes more than a whole new printer expensive. And honestly? Most people buy a new printer at that point. It's usually the cheaper option.
Hopefully it doesn't come to that. But if it does, at least you'll know you gave it your best shot.


